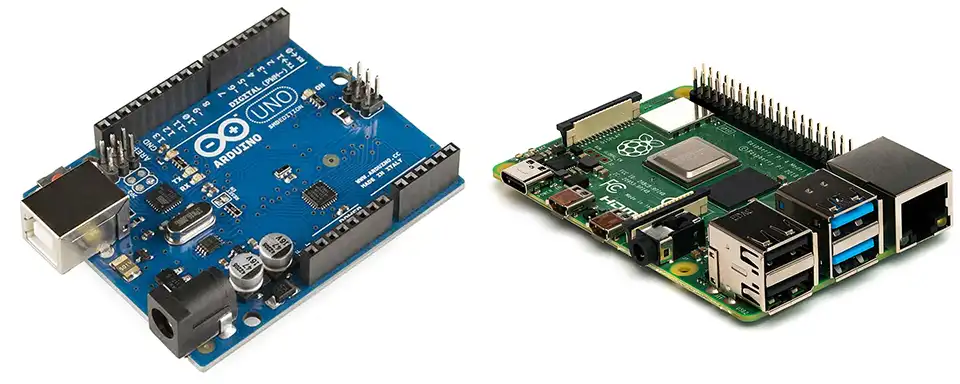
(Arduino on the left, Raspberry Pi on the right.)
Both Arduino and Raspberry Pi are popular choices for hobbyists, makers, and professionals working on electronics projects. However, they are fundamentally different tools suited for different tasks. Here’s a detailed comparison, breaking down their strengths, weaknesses, and ideal use cases:
1. Core Functionality & Architecture
- Arduino: A microcontroller board. It’s essentially a single chip with a processor, memory, and input/output (I/O) pins. It’s designed to control things – reading sensor data, controlling motors, turning LEDs on/off. It executes a single program repeatedly. Think of it as a dedicated, real-time controller.
- Raspberry Pi: A single-board computer (SBC). It’s a fully functional computer, albeit a small one. It runs a full operating system (usually Linux), can connect to a monitor, keyboard, and mouse, and can perform tasks like browsing the web, running software, and processing data. Think of it as a miniature desktop computer.
2. Key Specifications
| Feature | Arduino (Uno – common model) | Raspberry Pi (4 Model B – common model) |
|---|---|---|
| Processor | 8-bit AVR microcontroller | 64-bit ARM Cortex-A72 |
| Clock Speed | 16 MHz | 1.5 GHz |
| RAM | 2 KB | 1GB, 2GB, 4GB, or 8GB |
| Storage | 32 KB Flash Memory | MicroSD card (typically 16GB – 128GB+) |
| Operating System | None (runs bare-metal code) | Linux (Raspberry Pi OS, Ubuntu, etc.) |
| Connectivity | USB, Digital/Analog I/O Pins | USB, Ethernet, WiFi, Bluetooth, HDMI, Audio |
| Power Consumption | Low (5-20mA) | Higher (3-7W) |
| Price | $20 – $30 | $35 – $75+ (depending on RAM) |
3. Programming
- Arduino: Programmed using a simplified version of C/C++ through the Arduino IDE. Code is compiled on a computer and uploaded to the Arduino board. Focus is on direct hardware control.
- Raspberry Pi: Supports a wide range of programming languages including Python, C++, Java, JavaScript, and more. You can write and run code directly on the Pi. Offers more flexibility in software development.
4. Strengths & Weaknesses
| Feature | Arduino | Raspberry Pi |
|---|---|---|
| Strengths |
|
|
| Weaknesses |
|
|
5. Ideal Use Cases
Arduino is best for
- Simple automation: Controlling lights, motors, relays.
- Sensor data acquisition: Reading temperature, humidity, pressure.
- Robotics (basic): Controlling motors and sensors in simple robots.
- Interactive art installations: Responding to user input or environmental changes.
- Embedded systems: Dedicated control applications where real-time performance is crucial.
- Projects where low power consumption is important.
Raspberry Pi is best for
- Media centers: Streaming video, playing music.
- Home automation hubs: Controlling smart home devices.
- Web servers: Hosting websites or web applications.
- Image processing and computer vision: Analyzing images and videos.
- Machine learning: Running machine learning models.
- Robotics (advanced): Complex robots requiring image processing, navigation, and AI.
- Projects requiring networking and internet connectivity.
- Projects needing a graphical user interface (GUI).
6. Can they work together?
Yes! They often complement each other. You can use an Arduino to handle real-time sensor data acquisition and control, and then send that data to a Raspberry Pi for processing, analysis, and visualization.
- Example: An Arduino could control a robotic arm, while a Raspberry Pi handles the image processing to identify objects for the arm to pick up.
Here’s a quick decision guide
- Do you need to control hardware directly and in real-time? Choose Arduino.
- Do you need to run a full operating system and complex software? Choose Raspberry Pi.
- Do you need networking and internet connectivity? Choose Raspberry Pi.
- Is low power consumption a priority? Choose Arduino.
- Are you a beginner? Arduino is generally easier to learn.
- Do you need significant processing power and memory? Choose Raspberry Pi.
In conclusion
Arduino and Raspberry Pi are powerful tools, but they serve different purposes. Understanding their strengths and weaknesses will help you choose the right tool for your project. Often, the best solution involves using both in combination to leverage their individual advantages.